
A little know-how.
How to improve a home technology workspace
Fix positioning, connections and daily friction before adding more devices.
Your practical checklist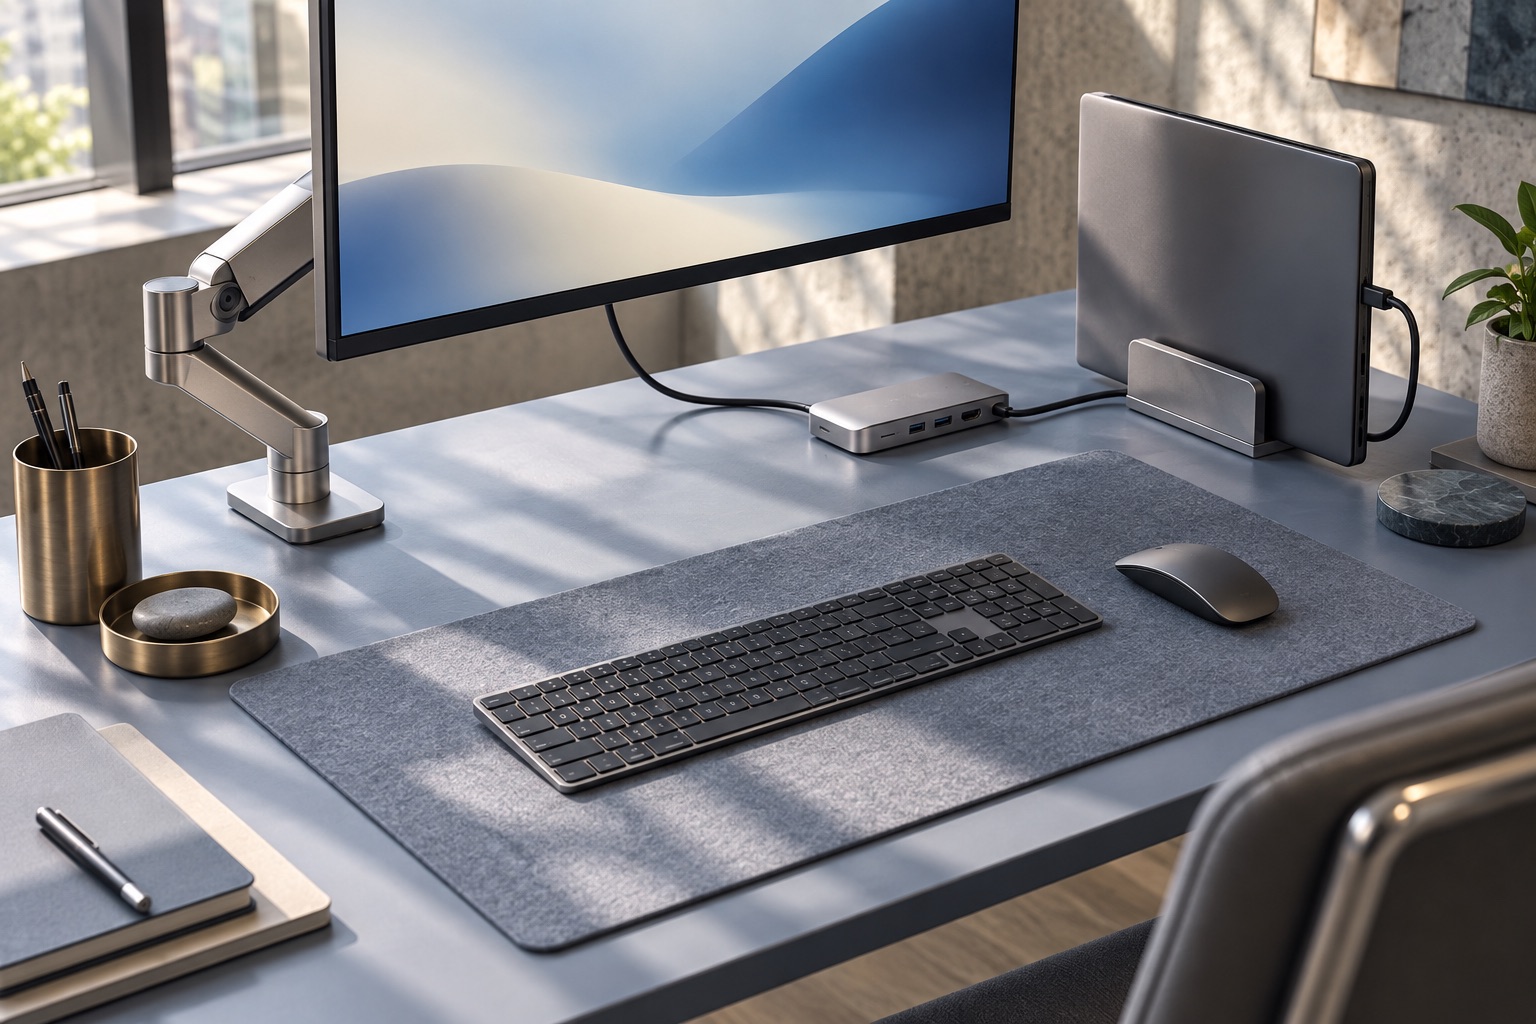
Start here
Pick one interruption you can reproduce: a difficult screen position, a tangle of connections or a call that sounds bad. Record what happens, change one thing and repeat the same task. A useful improvement removes that interruption without creating another.
Give the problem a name
Spend one normal work session noticing where you stop, reach or reconnect. Write a specific observation: “I lean forward to read spreadsheet labels” is more useful than “I need a better desk.” Choose the interruption that happens most often, and count it or note when it occurs.
Keep a short record: task, problem, change, result. For example, “30-minute spreadsheet session; text too small; increased display scaling; could read it while sitting back.” This is an illustrative record, not a measured result. Check the connections, lighting and call setup below even if your first problem seems obvious: one adjustment can affect another.
Arrange the screen around your work
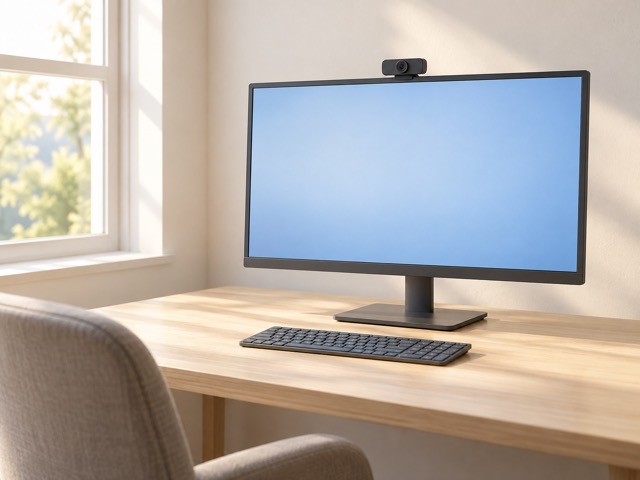
Sit with your feet supported, shoulders relaxed and elbows near your sides. Bring the keyboard close enough to type without reaching; put the mouse alongside it. Centre the main screen on the work you do most. As a starting point, place its top at or slightly below eye level, then adjust until you can read without lifting your chin or leaning in. People using some corrective lenses may need a lower screen.
Open your usual document. On Windows 11, use Settings → System → Display → Scale; on a recent Mac, use System Settings → Displays and choose a larger-text setting. Adjust text size before pulling the display so close that the keyboard no longer fits. Read and type for a normal session, changing position and taking breaks as usual.
A laptop couples the screen and keyboard together. If you already have a separate keyboard and mouse, raise the laptop on a stable support that leaves its vents clear. Without separate inputs, raising it can make typing awkward; try larger text and a better chair/desk position first.
Look at a dark area of the screen for reflections. Turn the desk or screen so a bright window is beside it rather than reflected in it. Move a lamp, soften daylight with a blind and check again at the time glare usually appears. Avoid solving glare by simply turning brightness to maximum.
Draw a connection map
Find your computer’s exact model in Windows Settings → System → About or Apple menu → About This Mac. In its specifications, identify each port’s data speed, display support and charging capability. USB-C is a plug shape: a port can charge a device without carrying video, and a matching plug does not guarantee a usable video signal.
| Device or task | Requirement to write down |
|---|---|
| One external screen | 3840 × 2160 at 60 Hz; HDMI input. Confirm that mode through the laptop, adapter and cable. |
| Laptop charging | Example: 65 W required by this model. The dock must deliver that to the host after its own power use; its total wattage is not the same figure. |
| Keyboard and webcam | Two USB connections used at the same time; note USB-A or USB-C and the camera’s required data rate. |
| Portable SSD | A 10 Gbit/s USB data path in this example. A dock may share its upstream bandwidth with other devices. |
Read the dock’s compatibility table for your operating system, number of independent displays and exact resolution/refresh rate. Check whether it needs a driver or an administrator install. A second socket does not guarantee a second independent desktop. If the screen already provides suitable USB ports and laptop charging, it may do the job without a separate dock.
Connect a troublesome screen or drive directly to the computer, using a known suitable cable. If it works directly but fails through the hub, test a different hub port, disconnect other devices and check the hub’s power supply. Our portable SSD guide explains how to follow the data-speed limits along this path. A dock earns its place when verified ports, power and display support solve the cable swapping you recorded.
Make one call you can compare
- Open your usual call app’s audio/video settings. Select the intended microphone, speaker and camera by name; a plugged-in webcam can silently become the microphone. Use the app’s test-call or recording feature if available. Otherwise make a short local audio recording and inspect the camera preview.
- Read the same two sentences at your normal speaking level. Include a quiet pause and a few seconds of ordinary typing. Listen through headphones: words should be clear, with no crackling, chopped syllables or intrusive keyboard noise. Move the microphone nearer, lower an excessive input level or change noise suppression, then repeat.
- Put soft light in front of you or slightly to one side. Move a bright window out of the background if your face looks dark. Set the camera near your eyeline and inspect the preview; raising the camera should not compromise typing position.
- For a live check, ask a willing contact to listen while you speak and share a document. Use headphones if they hear an echo. If the local recording is clear but the call breaks up, test the connection near the router or over Ethernet: the microphone may be fine.
Headphone listening noise cancellation does not tell you how clean your outgoing voice will be. Reuse a headset you own and compare it with the laptop microphone in the same call app. A quieter position or better microphone placement may remove the problem without new hardware.
Keep the change only if it survives a work session
Run your original task again with the same apps and devices. For a connection problem, wake the laptop, open a document, use the external screen, copy a spare file and start the call preview. Watch for missing devices, a falling battery while plugged in or a display that returns at the wrong resolution.
Record whether the interruption disappeared and whether anything became worse. A failed wake test calls for checking the cable, power and model-specific dock support before tidying everything away. Once the arrangement works, secure cables with enough slack to move the screen and leave cooling vents accessible. If rearranging and using equipment you already own resolves the issue, the job is done.
Put it into practice