3 perspectives. One decision.
Logitech MX Brio vs Insta360 Link 2 vs OBSBOT Meet 2
A fixed desk camera, a moving gimbal and a pocket-sized alternative: choose a webcam around your calls, presentations and recording setup.
Researched · Specification comparison
The short answer
Choose MX Brio for a mostly seated setup with manual image controls and a built-in shutter. Link 2 makes more sense when the camera needs to follow you. Meet 2 is the compact option for automatic framing without a moving gimbal. All three offer 4K at 30 fps; their different ways of framing a person are the more useful starting point.
For a seated workspace
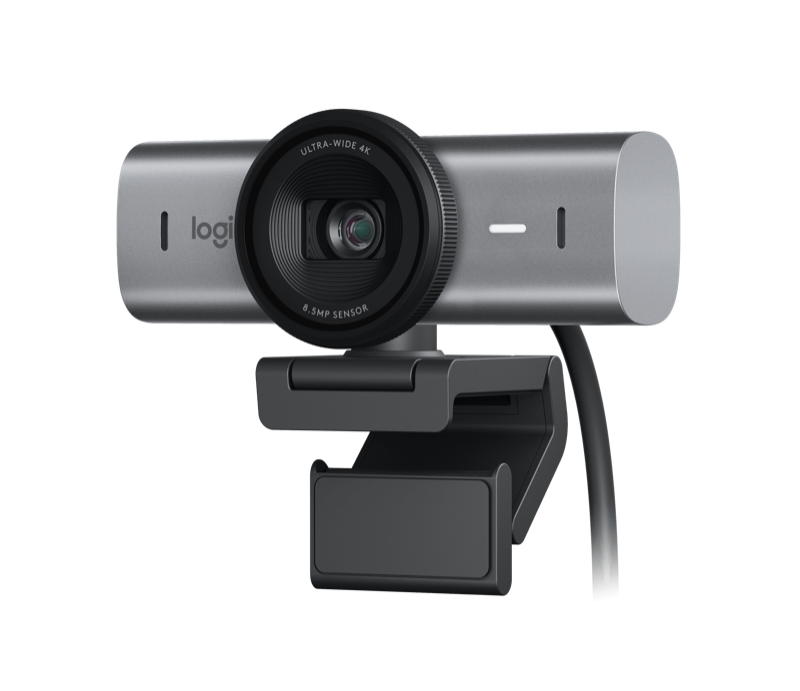
Logitech MX Brio
Graphite retail edition. Fixed camera with Show Mode, image controls and a physical shutter.
Check it out: Logitech MX Brio on Amazon.de (opens a new tab)Image: Logitech
For moving presentations
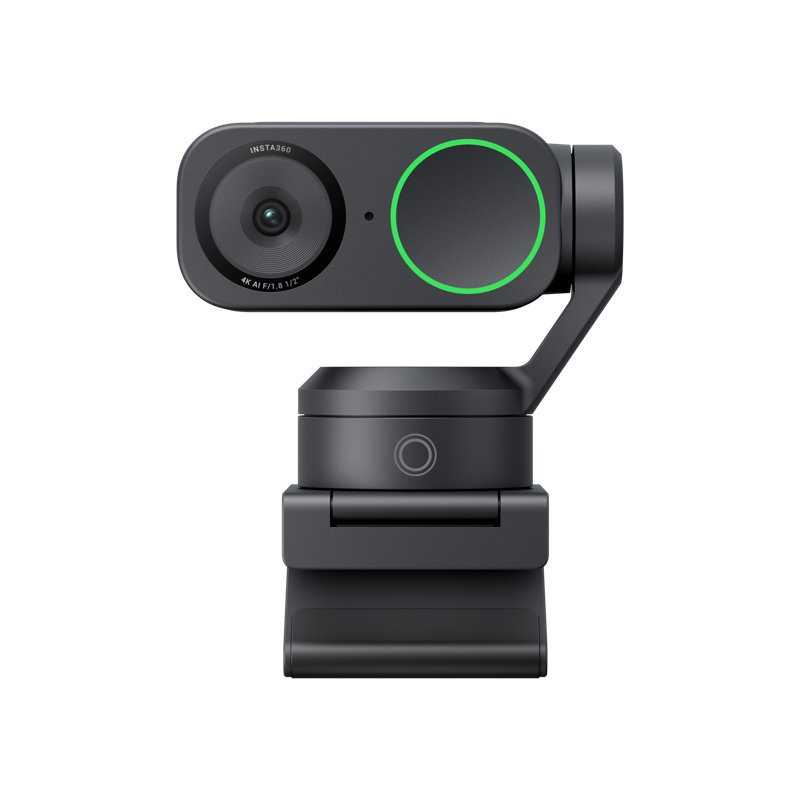
Insta360 Link 2
Black gimbal model. Physically pans and tilts to keep a moving presenter in view.
Check it out: Insta360 Link 2 on Amazon.de (opens a new tab)Image: Insta360
For a compact setup
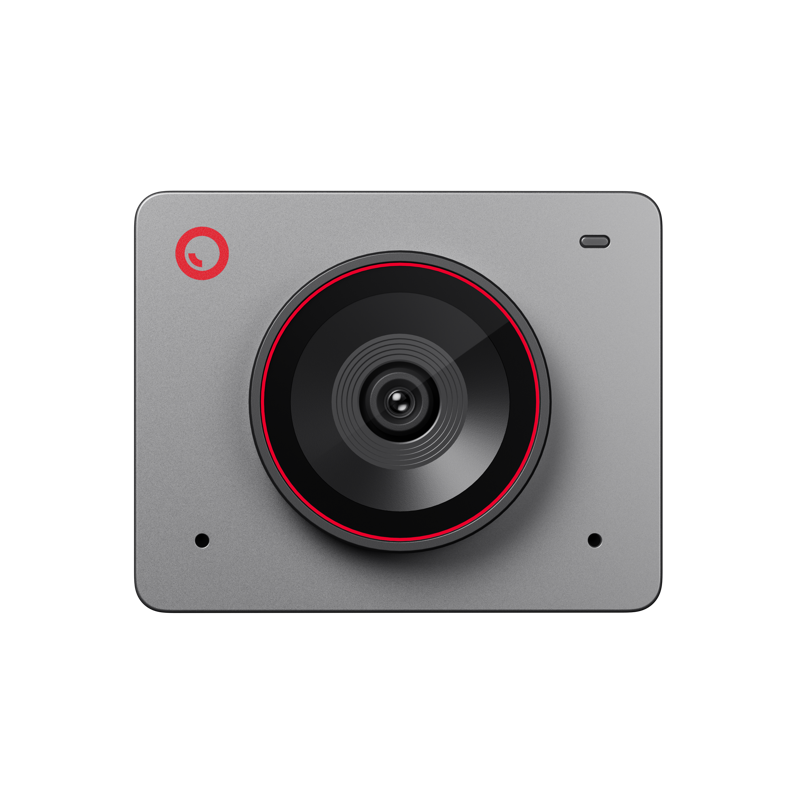
OBSBOT Meet 2
Space Grey. A small fixed camera with automatic framing and autofocus.
Check it out: OBSBOT Meet 2 on Amazon.de (opens a new tab)Image: OBSBOT
Affiliate links may earn us a commission. Compare the exact variant and current price before buying. Specifications are manufacturer claims, not our own test results.
Start with what happens during your calls
If you stay at a desk, a webcam mainly needs to hold a flattering angle and produce a consistent picture. If you stand up, move between a screen and a whiteboard, or demonstrate something across the room, keeping you in the shot becomes a separate problem. That distinction explains why these three cameras can share the same headline resolution yet suit different people.
MX Brio is a sensible shortlist option for a seated presenter who wants control over the picture. Meet 2 suits a small monitor or a setup that gets packed away. Link 2 earns consideration when movement is part of the session. Buying the gimbal simply because it has more mechanisms adds little if you will turn tracking off and sit still.
A moving camera is different from a moving crop
Link 2 can rotate its camera to follow the presenter. Its manufacturer specifies a two-axis gimbal, and the approved Amazon listing is the black Link 2 with that mechanism. Link 2C and the newer Pro models are different products. The shared family name is not enough to identify the one being compared here.
Meet 2 changes the composition digitally within the view of its fixed lens. That is useful for keeping a seated person or group framed, but it cannot turn to look somewhere outside that view. A digital crop also uses less of the original image. Consider how much you move, how much of the room you want visible, and whether reframing would distract from a screen-share.
What 4K helps with—and what it cannot fix
All three advertise 4K capture at 30 frames per second and 1080p at 60. The first preserves more fine detail; the second captures motion more frequently. A recorded demonstration and an ordinary video meeting need not use the same setting. Select the mode in the recording application and check the resulting file rather than assuming the camera’s maximum is active.
A meeting service, account setting, network connection or receiving device can reduce what viewers actually see. A 4K webcam therefore does not guarantee a 4K call. The sensor descriptions in the table also use different measurements: megapixels and sensor format are not interchangeable scores. Without controlled recordings, they do not establish a winner for low-light quality.
Give the camera better light before adding effects
Try soft light from in front of you or slightly to one side. A bright window directly behind your head makes exposure harder to balance. Raise the camera near eye level, remove a distracting background object, and record a short sample at the time of day you normally work. These changes give the camera a more useful starting point.
Logitech exposes controls including white balance, ISO and shutter speed through its software. That is useful when automatic exposure keeps changing during a presentation, but a manual setting needs revisiting when the light changes. Background replacement and beautification are optional stylistic tools; they should not be mistaken for evidence of lens quality.
Desk demonstrations, mounting and privacy
MX Brio’s Show Mode is designed for tilting the camera down toward notes or objects on the desk. Link 2 provides DeskView and whiteboard modes. These can save you from holding a sheet in front of your face, but check that the camera can see the relevant area without the monitor stand or your hands blocking it.
Mounting deserves a trial before a long call: open and close the laptop lid, type normally and check whether the picture shakes. Leave clearance around Link 2’s moving head. Meet 2’s listed 40.5 g camera body is attractive for packing, but it is not a complete bag weight including its mount and cable. MX Brio has a rotating physical shutter; covering video does not mute a microphone.
Software, ports and sound belong in the decision
The advanced controls live in three different applications. On an employer-managed computer, check whether installation is permitted before paying for a feature that depends on it. Basic camera operation and the full control application are separate compatibility questions. Check your operating-system version and the specific effect you want, especially when using a virtual-camera output.
Use the supplied cable or an equivalent data-capable cable and check your hub’s requirements. A connector that fits is not proof of the required data mode. For speech, start by listening to a recording of the webcam microphone in your actual room. A microphone closer to your mouth may be a more useful second upgrade than another jump in camera resolution.
Which one would we shortlist?
For a desk-based worker who wants a fixed composition, adjustable image settings and an obvious lens shutter, start with MX Brio. For a teacher, trainer or presenter who moves away from the chair, start with Link 2 and test its tracking through the movements you actually make. For a small or frequently packed setup, start with Meet 2 and decide whether its digital framing is enough.
These are recommendations from the documented features, not a hands-on image-quality ranking. Before ordering, compare the total setup: camera, mounting position, available ports, permitted software and audio. Check the exact version at Amazon.de and record a short call or local clip after setup. The useful winner is the one that solves your particular framing problem.
Side by side
The differences that matter.
On smaller screens, swipe across the table to compare all products.
| At a glance | Logitech MX Brio | Insta360 Link 2 | OBSBOT Meet 2 |
|---|---|---|---|
| Maximum 4K capture | 3840 × 2160 at 30 fps | 3840 × 2160 at 30 fps | 3840 × 2160 at 30 fps |
| Smoother-motion option | 1080p at 60 fps | 1080p at 60 fps | 1080p at 60 fps |
| Sensor as specified | 8.5 MP Sony STARVIS | 1/2-inch sensor | 1/2-inch CMOS sensor |
| How it frames you | Fixed body; adjustable field of view | Motorised two-axis pan and tilt | Fixed body; automatic digital framing |
| Focus | Autofocus; manual controls available | Phase-detection autofocus | Autofocus |
| Showing physical work | Tilt-down Show Mode | DeskView and whiteboard modes | Position the camera manually |
| Computer connection | Detachable USB-C cable; USB 3.0 standard | USB-C cable; USB-A adapter in standard bundle | USB-C connection |
| Built-in audio | Dual beamforming microphones | Microphone with selectable noise-reduction modes | Dual microphones |
| Control software | Logi Options+ or G HUB | Insta360 Link Controller | OBSBOT Center |
| Before buying | Check your USB port and permitted software | Leave room for gimbal movement; choose Link 2, not 2C or Pro | Confirm Space Grey and Meet 2, not Meet SE |
A little more context
How to improve a home technology workspace
Fix positioning, connections and daily friction before adding more devices.