
2 perspectives. One decision.
Shure MV7+ vs RØDE PodMic USB: choose your recording workflow
Two dynamic microphones with USB and XLR. Compare automatic level control, monitoring, mounting and the equipment you need for a complete voice setup.
Researched · Specification comparison
The short answer
MV7+ suits someone who wants automatic level control and a touch-to-mute panel when recording through USB. PodMic USB suits a more hands-on workflow with onboard processing and a physical headphone-level control. Both can move to an XLR setup later, but their USB effects do not process the analogue XLR signal.
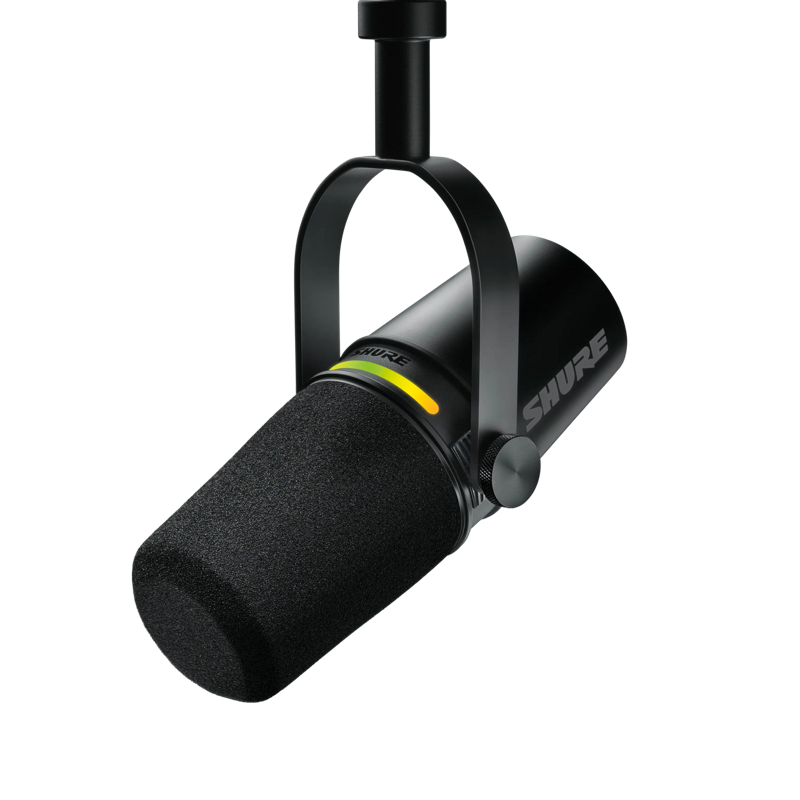
For assisted USB recording
Shure MV7+
Black MV7+-K, microphone only. USB automatic level control and a touch mute panel.
Check it out: Shure MV7+ on Amazon.de (opens a new tab)Image: Shure
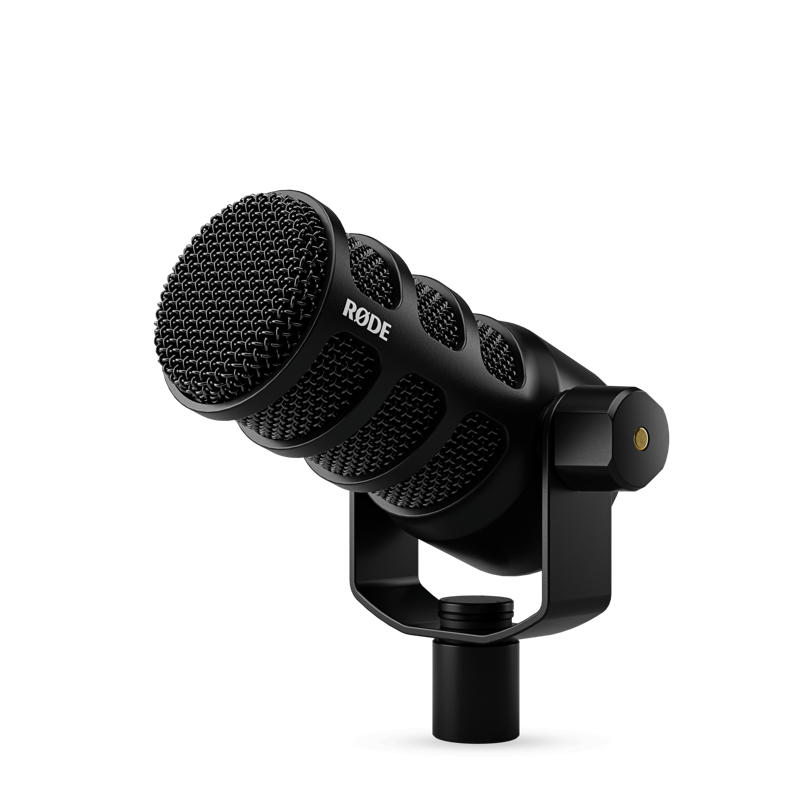
For a hands-on setup
RØDE PodMic USB
Black USB/XLR model, microphone only. Headphone level control and APHEX processing.
Check it out: RØDE PodMic USB on Amazon.de (opens a new tab)Image: RØDE
Affiliate links may earn us a commission. Compare the exact variant and current price before buying. Specifications are manufacturer claims, not our own test results.
USB today, an interface later
Both microphones can connect directly to a compatible computer over USB, so a first podcast does not require a separate audio interface. Their XLR outputs give you another route when you later use a mixer or build a setup with several microphones. The connection you choose changes which controls and processing are available.
This comparison covers the black MV7+ and black PodMic USB in the linked microphone-only listings. The original MV7, MV7X and XLR-only PodMic are different products. Bundles can include a stand, but a picture of a microphone on a boom arm does not mean the arm is in the box. Decide what you will record and where the microphone will sit before comparing purchase totals.
Shure puts more help into the USB workflow
MV7+ can adjust recording level automatically. Its USB processing also includes a denoiser and Digital Popper Stopper, alongside manual controls. For a solo speaker who changes volume or drifts in distance, that assistance can reduce the number of settings to manage. It does not remove the need to make a test recording or keep a reasonably consistent speaking position.
The LED panel provides a direct mute action and can display level information. Shure’s manual says its physical mute can be disabled in software and that mute does not persist through a power cycle. For a live session, verify the recording app’s input and mute state after reconnecting. Do not assume a previously muted microphone will stay muted.
RØDE gives you a direct monitoring control
PodMic USB includes a headphone output with its own level control and onboard APHEX processing. RØDE’s processing tools let you shape the sound rather than simply record a completely untreated signal. That suits someone willing to set up a repeatable voice preset and then concentrate on recording. Start with restrained settings and compare with processing switched off.
A noise gate reduces sound when the input falls below a threshold; it does not make noise disappear underneath every spoken word. Compression changes the relationship between louder and quieter passages. Either can become distracting when set too aggressively. Listen for clipped word beginnings, unnatural level changes and room sound rising between sentences before keeping a preset.
The XLR path is a separate signal path
Shure explicitly states that XLR audio is unaffected by its software settings. RØDE’s setup guidance likewise places its onboard processing on the USB output. Moving either microphone to an XLR interface therefore does not carry the finished USB sound into the mixer. Set the interface’s gain and apply any equalisation or dynamics there or in the recording software.
The same distinction matters for monitoring and muting. In an XLR session, monitor from the interface or mixer and use its mute control. Choose an interface with suitable microphone inputs and enough clean gain for your voice and speaking distance. Buying an additional booster automatically, before checking levels in the actual setup, can add unnecessary cost.
Placement matters more than a broadcast-style shape
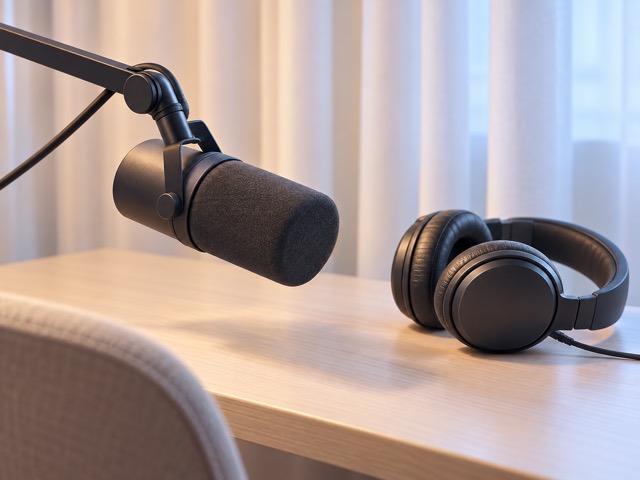
These are directional, end-address microphones: aim the speaking end toward your mouth, rather than speaking into the side as you might with another microphone design. Bring the microphone close enough that your voice is strong without making every breath or movement obvious. A small change in angle can help keep direct bursts of air away from the capsule.
Make a sample while typing, moving the chair and using the computer normally. Listen for desk knocks as well as airborne noise. A boom can help you place the microphone consistently and free desk space, but room reflections and fan noise still need attention. The illustration shows positioning ideas, not either named product or a tested acoustic result.
Build the whole setup, including the mount
The weight difference matters to the stand: Shure specifies 573.5 g, while RØDE lists 900 g for PodMic USB. Check the arm’s supported weight range and reach, including attached accessories. A stand that slowly drops or needs to sit directly in front of the keyboard is a practical problem even if the microphone itself sounds good.
The checked Shure listing includes its windscreen and USB-C cable; the checked RØDE listing includes an external pop filter and SC29 cable. Neither of these microphone-only selections supplies a desk stand. Allow for a suitable mount and headphones, and for an XLR cable and interface if you choose that route. A different merchant bundle needs its own contents check.
Choose for the controls you will actually use
Start with MV7+ if automatic USB level control and a readily accessible mute panel are the reasons you are upgrading. Start with PodMic USB if you prefer setting your own processing and adjusting headphone level on the microphone, and you have a mount that can accommodate its weight. If your whole workflow is already XLR, give less weight to either model’s USB extras.
We have not recorded a controlled voice comparison, so there is no invented sound-quality score here. Voice, distance, room, processing and playback level all affect preference. Compare samples recorded at similar distance and loudness, or test your chosen microphone in the actual space. Keep the option that makes it easy to produce clear, consistent speech without fighting the setup.
Side by side
The differences that matter.
On smaller screens, swipe across the table to compare all products.
| At a glance | Shure MV7+ | RØDE PodMic USB |
|---|---|---|
| Microphone type | Dynamic; cardioid | Dynamic; cardioid |
| Outputs | USB-C and analogue XLR | USB-C and analogue XLR |
| USB recording format | Up to 24-bit / 48 kHz | 24-bit / 48 kHz |
| Direct headphone monitoring | 3.5 mm output | 3.5 mm output with level dial |
| USB processing approach | Auto Level, denoiser, Digital Popper Stopper; manual controls also available | APHEX processing with compressor, noise gate and tonal controls |
| Mute control | LED touch panel for USB; can be disabled in software | Use your recording app or mixer |
| Does onboard processing affect XLR? | No | No |
| Manufacturer net weight | 573.5 g | 900 g |
| Included essentials | Foam windscreen, 3 m USB-C cable, thread adapter | External pop filter and SC29 USB-C cable |
| Stand in these listings | Not included | Not included |
| Desktop software | MOTIV Mix | RØDE Central; RØDE recording applications |
A little more context
How to improve a home technology workspace
Fix positioning, connections and daily friction before adding more devices.