
2 perspectives. One decision.
Tapo C120 vs Reolink RLC-811A
A compact Wi-Fi camera or a wired 4K camera with optical zoom? Compare installation, framing, recording and the extra equipment each needs.
Researched · Specification comparison
The short answer
Tapo C120 is the easier fit where reliable Wi-Fi and a nearby power socket already exist. Reolink RLC-811A suits a planned Ethernet installation and a view that benefits from optical zoom. Both need continuous power; neither is a battery camera.
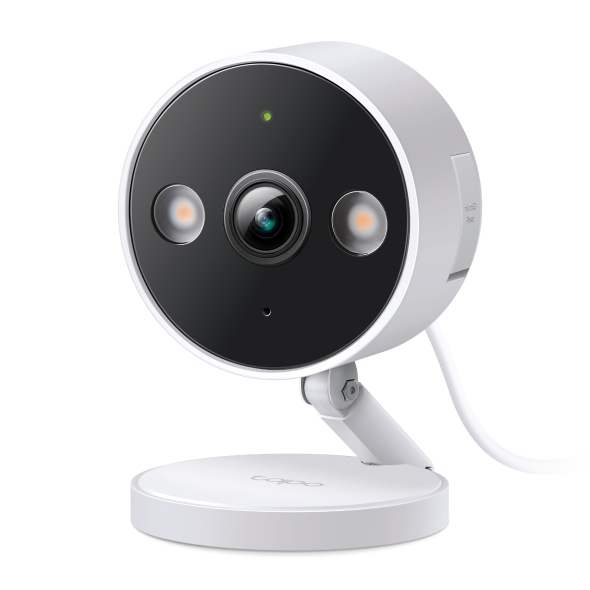
For flexible Wi-Fi placement
Tapo C120
White single camera with magnetic base, power adapter and USB-C cable. microSD card sold separately.
Check it out: TP-Link Tapo C120 on Amazon.de (opens a new tab)Image: TP-Link / Tapo
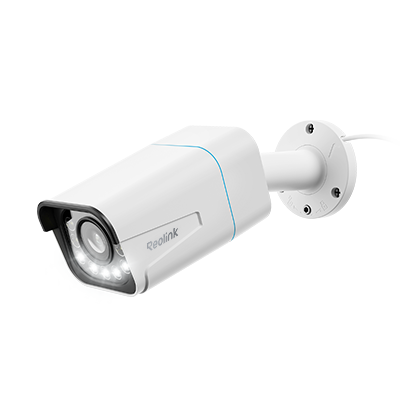
For a permanent wired view
Reolink RLC-811A
Standalone 4K PoE camera with 5× optical zoom. PoE supply and recording media are separate.
Check it out: Reolink RLC-811A on Amazon.de (opens a new tab)Image: Reolink
Affiliate links may earn us a commission. Compare the exact variant and current price before buying. Specifications are manufacturer claims, not our own test results.
Choose the cable route before the resolution
A camera is useful only if you can power it and maintain a reliable connection where it belongs. The small Tapo C120 sends video over Wi-Fi but still needs a cable to its power adapter. The Reolink RLC-811A can carry power and data over one Ethernet cable when connected to a suitable PoE supply.
Walk through that route before buying. A nearby indoor socket and strong Wi-Fi can make Tapo straightforward to position. A fixed location farther from the router may justify running Ethernet for Reolink. Neither is a cordless battery camera, and the price of installation can matter more than the difference between the camera prices.
A small magnetic base versus a permanent mount
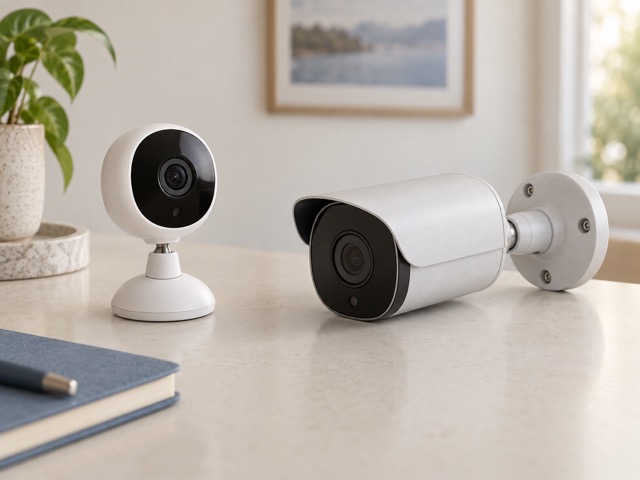
Tapo’s adjustable magnetic base is useful when experimenting with a view, especially indoors or near suitable metalwork. Its compact body is less visually prominent than a bullet camera. Confirm the mounting surface is secure and use the supplied mounting method appropriate to that location. A convenient initial position is not automatically a dependable long-term installation.
Reolink uses a larger screw-mounted body and adjustable arm. That suits a deliberate outdoor view where the camera can stay in place. Allow access for aiming, cable connections and maintenance before committing to the mounting holes. Its visible presence may be desirable at an entrance, while Tapo is easier to accommodate in a smaller room.
Optical zoom is a meaningful difference
Reolink’s 5× optical zoom changes the lens framing, from a wider view toward a narrower one. That is useful when the mounting point cannot be close to the area you want to watch. Tapo’s fixed lens sees a broad scene; enlarging part of that image digitally does not create the detail a different optical framing can capture.
The Reolink also records at a higher maximum resolution. That gives more pixels to work with, but it does not guarantee readable number plates or identifiable faces in every scene. Distance, angle, motion and lighting all matter. Select a view that captures the relevant entrance or path clearly rather than trying to cover the largest possible area.
Recording can stay local
Both support a separately purchased microSD card, with current specifications listing capacities up to 512 GB. Tapo offers optional Tapo Care cloud storage. Reolink can instead work with compatible Reolink NVR recording or an FTP server. An NVR is an additional recorder, not something included with this standalone camera.
Choose how much history you need and where that history should survive. Recording only inside the camera leaves footage with the device if it is removed or damaged. Retention also changes with resolution, recording schedule and bitrate. There is no single number of recording days that follows from a card’s capacity alone; check your actual settings and exported clips.
Night vision needs realistic expectations
Both cameras have infrared night vision and built-in lighting for a color view in suitable conditions. A spotlight can provide useful color information, but it also changes the appearance of the location at night. Reflections from a nearby wall, glass or an overhanging surface can compromise the image even when the specification looks promising.
Check the intended framing after dark as well as in daylight. Keep the camera aimed at the area you need, and consider where its lights will fall. Weather ratings apply to the specified camera enclosure; exposed adapters and cable joints require their own appropriate protection. Follow the manufacturer’s mounting and connection instructions rather than treating an IP rating as permission to leave every component outside.
Alerts are a filter, not a guarantee
Person and vehicle detection can make notifications more relevant than reacting to every movement. Available detection options depend on the device, software and selected service. The practical question is whether the alerts you receive help you respond. Start with restrained zones and settings, then adjust after seeing ordinary deliveries, passing traffic and changing light.
Keep account access controlled and install supported updates. Share access deliberately instead of passing around a single password, and frame the camera to avoid unnecessary views into neighboring spaces. These are connected recording devices, so the quality of the setup includes who can view or export footage, not just the sharpness of the image.
Add up the equipment you will actually use
Tapo is a sensible choice for a compact installation with existing Wi-Fi coverage and power. Include a suitable recording card or cloud plan in the total. Reolink makes sense when a stable wired connection and adjustable optical framing justify the extra installation work. Include a compatible PoE injector or PoE switch, cable and any recorder you intend to use.
The NETGEAR MS308 and TP-Link TL-SG105-M2 covered in our switch comparison do not provide PoE power. Connecting the Reolink to one of them therefore still needs a separate appropriate power solution. That distinction is more important than buying the highest resolution first: choose a complete installation that can record reliably in the place you need.
Side by side
The differences that matter.
On smaller screens, swipe across the table to compare all products.
| At a glance | Tapo C120 | Reolink RLC-811A |
|---|---|---|
| Maximum video resolution | 2560 × 1440; 4 MP | 3840 × 2160; 8 MP |
| Network | 2.4 GHz Wi-Fi | Wired Ethernet |
| Power | 5 V DC through USB-C; adapter supplied | 802.3af PoE or compatible 12 V DC supply |
| Battery operation | No | No |
| Lens | Fixed lens; digital zoom | Motorized lens; 5× optical zoom |
| Horizontal field of view | 103° | 105° to 31° with zoom |
| Weather rating | IP66 camera body | IP67 camera body |
| Mounting | Adjustable magnetic base | Screw-mounted bullet camera |
| Audio | Microphone and speaker | Microphone and speaker |
| Local microSD maximum | Up to 512 GB; card separate | Up to 512 GB; card separate |
| Additional recording | Optional paid Tapo Care cloud | Compatible Reolink NVR or FTP server |
| Color night view | Starlight sensor and dual spotlights | Built-in spotlights |
A little more context
How to place home Wi-Fi equipment
Use distance, walls, wired backhaul and device locations to plan coverage.